If you’re looking to add a touch of elegance and charm to your garden, then look no further than a decorative garden trellis. This simple DIY guide will walk you through the steps of creating your very own trellis, allowing you to showcase your favorite climbing plants and add an eye-catching element to your outdoor space. With just a few tools and materials, you’ll be able to create a beautiful and functional trellis that will be the envy of all your neighbors. So roll up your sleeves and let’s get started on this fun and rewarding project!
Choosing the Right Materials
When it comes to creating a decorative garden trellis, choosing the right materials is essential. Different materials offer different benefits and aesthetics, so it’s important to consider your preferences and the overall style of your garden.
Wood
Wood is a popular choice for trellises due to its natural beauty and versatility. It can be easily painted or stained to match any garden design, and it provides a traditional and rustic look. Cedar and redwood are particularly popular choices for outdoor projects, as they are naturally resistant to rot and decay. However, keep in mind that wood may require regular maintenance and refinishing to keep it looking its best.
Metal
Metal trellises add a touch of elegance and modernity to any garden. They are highly durable and require minimal maintenance, making them an excellent long-term investment. Steel and wrought iron are common choices for metal trellises, as they are sturdy and can withstand harsh weather conditions. Metal trellises are available in a variety of styles and finishes, allowing you to find the perfect option to complement your garden’s aesthetic.
Bamboo
Bamboo is a sustainable and eco-friendly material choice for trellises. It offers a natural and exotic look that can create a serene and tropical atmosphere in your garden. Bamboo trellises are lightweight, making them easy to install and move around. However, keep in mind that bamboo may require regular maintenance to prevent rotting and ensure longevity.
Vinyl
Vinyl trellises are a low-maintenance and durable option for your garden. They are resistant to rot, insects, and harsh weather conditions, making them a great choice for those seeking a long-lasting trellis. Vinyl trellises are available in various designs and colors, allowing you to find one that matches your garden’s style. Additionally, they are easy to clean, requiring only soap and water for maintenance.
Recycled Materials
For those who prioritize sustainability and eco-friendliness, using recycled materials for your trellis can be a great choice. Repurposed wood, metal, or plastic can create a unique and environmentally-conscious trellis. Not only does using recycled materials reduce waste, but it also adds character and charm to your garden. Keep in mind that when using recycled materials, you may need to put in extra effort to prepare and treat them for outdoor use.
Tools and Equipment Needed
To successfully create a decorative garden trellis, you’ll need a few essential tools and equipment. These tools will help you measure, cut, and assemble the trellis with precision and ease.
Measuring Tools
Accurate measurements are vital for a well-fitting trellis, so having measuring tools on hand is crucial. A tape measure and ruler will help you measure the dimensions of the trellis and ensure everything fits perfectly.
Level
A level is necessary to ensure that your trellis is perfectly straight and level once installed. This tool will help you avoid any unsightly imbalances and create a professional-looking finished product.
Hand Saw
A hand saw will come in handy when cutting the wood or other materials for your trellis. Make sure to choose a saw suitable for your specific needs, whether it’s a traditional hand saw or a powered one.
Drill
A drill will be needed to create holes for screws or other fasteners in your trellis. Make sure to have a variety of drill bits on hand to accommodate different sizes of fasteners.
Screwdriver
A screwdriver is essential for tightening screws and securing the various parts of your trellis. Consider having both flathead and Phillips head screwdrivers available for different types of screws.
Tape Measure
In addition to the measuring tools mentioned earlier, a tape measure will also be useful during the construction process. It can come in handy when determining the spacing between different parts of the trellis or marking off specific measurements.
Having these tools readily available will make the construction process smoother and ensure that your trellis is built to perfection.
Determining the Size and Design
Before diving into the construction of your garden trellis, you need to determine the ideal size and design for your space. Considering the available space and your personal preferences will help you create a trellis that complements your garden and serves its intended purpose.
Considering the Space
First, assess the area where you plan to install the trellis. Take note of the available height, width, and depth, as well as any potential obstacles or features that may affect the design or placement of the trellis. This will help you determine the appropriate size and shape of the trellis and ensure it fits the designated area.
Choosing a Design
Next, consider the overall design style you want to achieve. Do you prefer a more traditional, rustic look with intricate lattice patterns? Or perhaps a modern and minimalist design with clean lines? Take into account your garden’s existing aesthetic and choose a trellis design that complements it.
Sketching the Trellis
Once you have an idea of the desired size and design, it’s helpful to sketch out your trellis on paper. This will serve as a visual guide during the construction process. Include precise measurements and any specific details you want to incorporate, such as decorative elements or special patterns. This sketch will also make it easier to gather the required materials and estimate the quantities you’ll need.
By taking the time to determine the size and design of your trellis before starting construction, you’ll set yourself up for success and create a finished product that enhances your garden’s beauty.
Preparing the Site
Properly preparing the site where you’ll be installing the trellis is an essential step in ensuring its stability and longevity. Follow these steps to make sure your trellis has a solid foundation:
Clearing the Area
Begin by clearing the area where the trellis will be installed. Remove any existing vegetation, such as grass or weeds, and clear away any debris or obstacles that could interfere with the construction process. This will create a clean and level surface for the trellis.
Leveling the Ground
Use a shovel or rake to level the ground where the trellis will be placed. This is particularly important if the area has uneven terrain or slopes. A level surface will provide stability for the trellis and prevent any leaning or tilting once it’s installed.
Removing Weeds and Obstacles
Inspect the cleared area for any remaining weeds or obstacles that could hinder the growth of your plants or interfere with the trellis. Remove any unwanted plants or objects, ensuring they are completely uprooted to prevent regrowth.
Marking the Location
Use stakes or marking flags to outline the exact location where the trellis will be installed. This will provide a clear guide during the construction process and ensure that the trellis is installed precisely where you want it.
Taking the time to properly prepare the site will contribute to the overall stability and longevity of your trellis. It will also create a clean and organized environment for the construction process.
Building the Trellis Frame
The frame is the backbone of your trellis, providing structure and support for plants to climb and grow. Follow these steps to build a sturdy trellis frame:
Measuring and Cutting the Wood
Using your chosen material, whether it’s wood, metal, or another material, measure and cut the necessary pieces for your trellis frame. Refer to your sketch and ensure the measurements are precise to create a balanced and visually pleasing frame.
Attaching the Vertical Posts
Start by attaching the vertical posts to the ground or designated area. Depending on your trellis design, this may involve digging holes and securing the posts with concrete or inserting them into pre-installed anchors. Use a level to ensure the posts are straight and vertically aligned.
Securing the Horizontal Supports
Once the vertical posts are securely in place, attach the horizontal supports to create the lattice or structure for the plants to climb. This can be done by screwing or nailing the horizontal pieces to the vertical posts, following your sketch and desired pattern.
By following these steps, you’ll construct a solid frame that will serve as the framework for your garden trellis.
Attaching the Trellis to a Wall or Fence
If you prefer not to have a freestanding trellis and instead want to attach it to an existing wall or fence, follow these steps to ensure a secure installation:
Choosing the Mounting Method
Consider the best mounting method for your particular situation. This may involve using brackets, hooks, or other hardware designed for attaching trellises to walls or fences. Keep in mind the material and stability of the surface you’ll be attaching the trellis to.
Measuring and Marking the Wall
Use a tape measure and level to measure and mark the exact location where the trellis will be attached. Take into account the desired height, width, and spacing from the ground or other features.
Installing Anchors
If necessary, install anchors or wall plugs to provide extra support for the trellis. These will ensure that the trellis is securely attached to the wall or fence and can handle the weight of climbing plants.
Securing the Trellis
Once the anchors or wall plugs are in place, carefully attach the trellis to the wall or fence using the chosen mounting method. Make sure it is level and straight before tightening any screws or fasteners.
When attaching a trellis to a wall or fence, it’s crucial to ensure a proper and secure installation. This will prevent any potential damage to the structure and ensure the longevity of your trellis.

Creating an A-Frame Trellis
An A-frame trellis adds charm and visual interest to a garden while providing a sturdy support structure for climbing plants. Follow these steps to construct an A-frame trellis:
Measuring and Cutting the Wood
Measure and cut the necessary pieces for your A-frame trellis. This will typically include two longer vertical pieces for the sides and a shorter horizontal piece for the top.
Preparing the Frame Pieces
Smooth any rough edges or surfaces on the wood using sandpaper. This will prevent splinters and create a visually appealing finish.
Assembling the A-Frame
Lay the two longer vertical pieces on the ground, forming an “A” shape. Position the shorter horizontal piece across the top, connecting the two sides. Use screws or nails to secure the pieces together at the joints, ensuring the frame is stable and balanced.
An A-frame trellis is an attractive and functional addition to any garden. Its simple construction allows for easy customization and provides a stunning backdrop for climbing plants.
Constructing a Teepee Trellis
A teepee trellis offers a unique and whimsical look to your garden while providing a supportive structure for climbing plants. Follow these steps to construct a teepee trellis:
Gathering the Materials
Collect the necessary materials for your teepee trellis, including long poles or stakes and twine or wire for securing the structure.
Creating the Teepee Frame
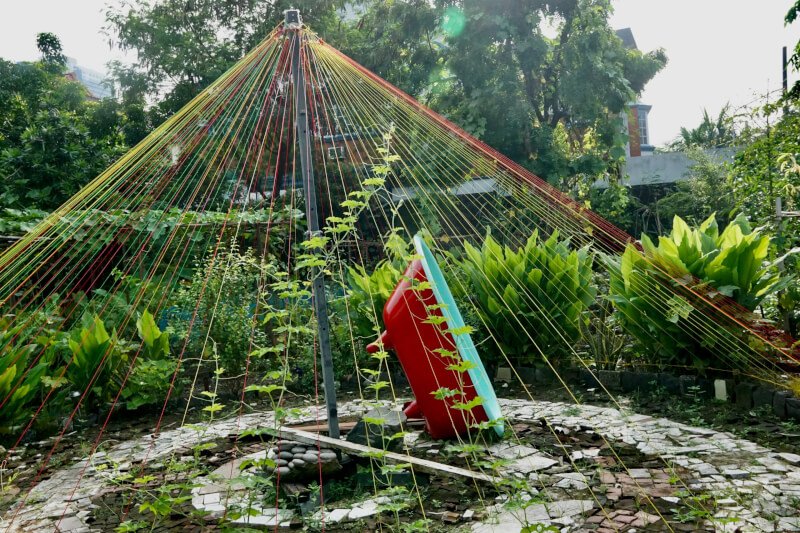
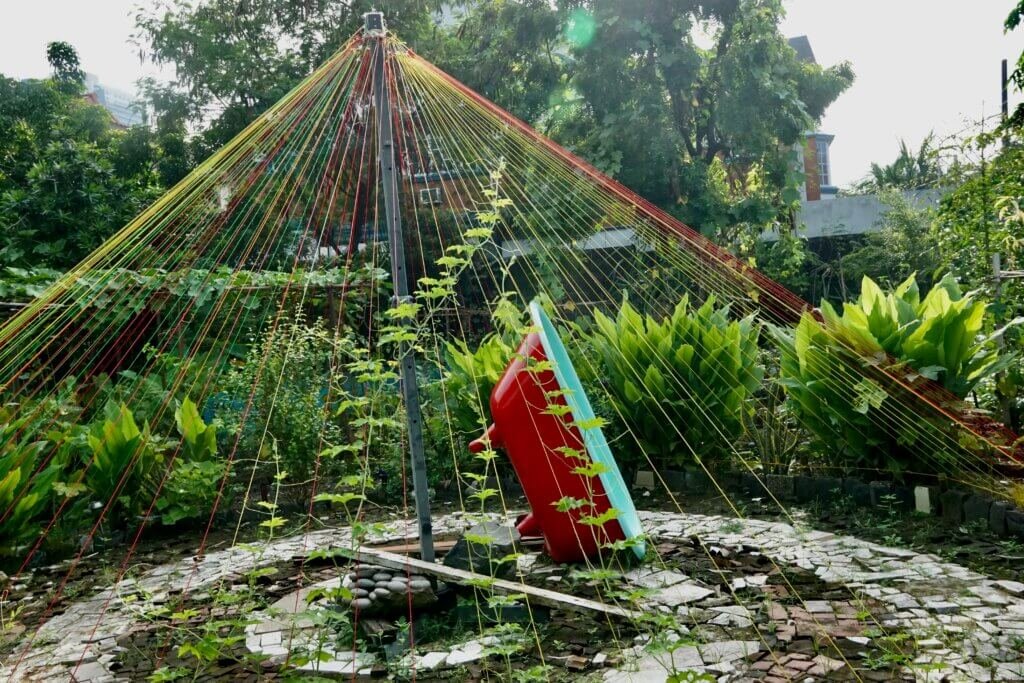
Place the poles or stakes in a circular arrangement, ensuring that the tops are touching, forming a cone shape. Adjust the positioning of the poles as needed to create an evenly spaced and balanced structure.
Securing the Joints
Using twine or wire, securely tie the tops of the poles together, creating a stable and sturdy teepee frame. Be sure to wrap the twine or wire around each joint multiple times to ensure a strong hold.
A teepee trellis adds an element of whimsy and natural beauty to a garden. Its unique shape allows for plenty of climbing space for plants, creating a stunning visual display.
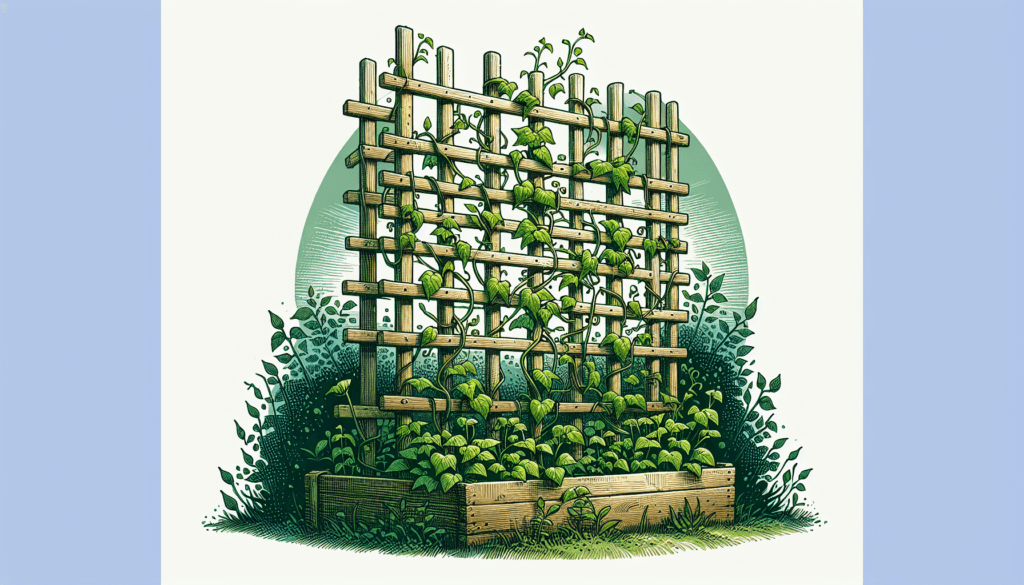
Weaving the Trellis
Once the framework of your trellis is complete, it’s time to weave the supportive structure for your climbing plants. Follow these steps to create a sturdy and attractive trellis weave:
Selecting the Vine or Plant
Choose a suitable vine or plant that will thrive on a trellis. Consider factors such as growth habit, climbing method, and sunlight requirements. Popular choices include clematis, jasmine, and morning glory.
Starting the Weaving Process
Begin by gently guiding the young stems or tendrils of the plant through the trellis openings or lattice. Be careful not to break or damage the plant as you secure it to the trellis.
Tying the Vine to the Trellis
As the plant grows, continue guiding and gently tying its tendrils or stems to the trellis. Use gardening twine or gentle ties to secure them in place, ensuring they have room to grow while remaining supported.
Properly weaving your trellis will provide a robust and stable structure for your climbing plants. As the plants grow and intertwine with the trellis, they will create a striking and visually appealing display in your garden.
Maintaining and Caring for the Trellis
Once your decorative garden trellis is in place, it’s important to maintain and care for it to prolong its lifespan and keep it looking its best. Follow these tips to ensure your trellis remains in optimal condition:
Regular Inspection
Periodically inspect your trellis for any signs of damage or wear. Look for loose screws, cracks or splits in the wood or material, or any structural issues. Taking care of minor repairs early can prevent further damage and extend the life of your trellis.
Pruning and Trimming
Regularly prune and trim the plants on your trellis to keep them healthy and prevent any overgrowth or entanglement. Remove any dead or diseased foliage and ensure that the plants are trained to grow within the trellis structure.
Protecting Against Pests
Keep an eye out for pests that may be attracted to the plants on your trellis. Aphids, spider mites, and other common garden pests can affect the health and appearance of your plants. Implement organic pest control methods or seek professional advice if necessary.
Applying Protective Coating
If you have a wooden trellis, consider applying a protective coating or sealant to prolong its lifespan and protect it from weathering. Choose a product specifically designed for outdoor wood and follow the manufacturer’s instructions for application.
By regularly maintaining and caring for your trellis, you’ll ensure that it remains an attractive and functional addition to your garden for years to come.
Creating a decorative garden trellis can be a rewarding and enjoyable DIY project. With the right materials, tools, and a little bit of creativity, you can construct a trellis that not only enhances the beauty of your garden but also provides a supportive structure for your climbing plants. With careful planning and attention to detail, your trellis will become a stunning focal point and a source of pride in your outdoor space. Enjoy the process and watch as your garden transforms with the addition of a beautiful trellis!
