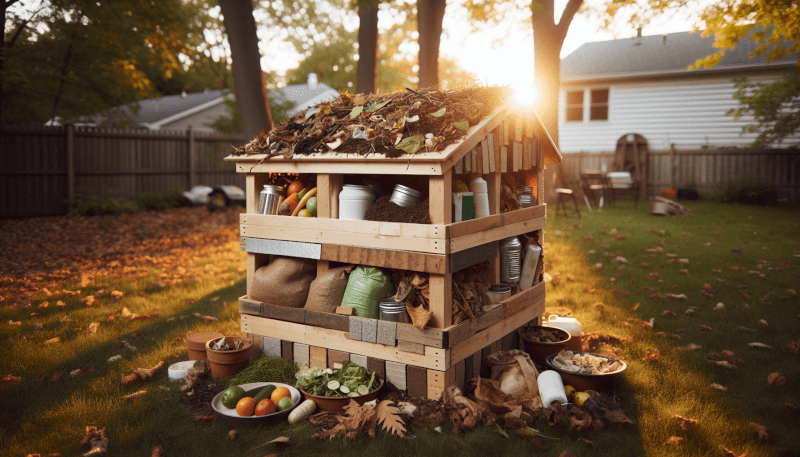
Are you interested in starting your own compost bin but don’t know where to begin? Look no further! In this beginner’s guide, we will provide you with all the essential information you need to build your own compost bin. From selecting the right materials to step-by-step instructions, we’ve got you covered. Building a compost bin is not only eco-friendly but also a great way to reduce waste and create nutrient-rich soil for your garden. So grab your tools and get ready to embark on this exciting and sustainable journey!
Choosing a Location
Sunlight Requirements
When choosing a location for your compost bin, it’s important to consider the amount of sunlight the area receives. Ideally, you want to place your bin in an area that gets at least six hours of sunlight each day. Sunlight helps to speed up the decomposition process by providing warmth and energy to the microorganisms that break down the organic waste. Avoid placing your bin in a heavily shaded area as it may slow down the composting process.
Proximity to Garden or Yard
Another factor to consider when choosing a location for your compost bin is its proximity to your garden or yard. It’s most convenient to place the compost bin near your garden, as it allows for easy access to the finished compost when you need to fertilize your plants. Additionally, having the bin nearby makes it easier to transfer the organic waste from your kitchen or yard to the composting area.
Accessibility
Accessibility is also an important consideration when selecting a location for your compost bin. You want to choose a spot that is easily accessible for adding materials to the bin, turning the compost, and harvesting the finished product. Make sure there is enough space around the bin to comfortably maneuver and work with the compost. Also, consider the distance from the nearest water source, as you may need to water the compost occasionally to maintain the desired moisture levels.
Types of Compost Bins
Stationary Bins
Stationary bins are a popular choice for composting enthusiasts. These bins are typically made from materials such as wood, plastic, or metal and provide a stable structure for holding your compost. They are designed to be long-lasting and durable, making them a great investment for your composting needs. Stationary bins are ideal for those who have a permanent location for their compost pile, as they cannot be easily moved once assembled.
Tumbler Bins
Tumbler bins offer a convenient way to compost without the need for manual turning. These bins are typically made from plastic and feature a rotating mechanism that allows you to turn the compost easily. The tumbling action helps to aerate the compost, resulting in faster decomposition and fewer odors. Tumbler bins are a great choice for those with limited space or those who want a more hassle-free composting experience.
Wire Mesh Bins
Wire mesh bins are a budget-friendly option for building a compost bin. These bins are constructed using wire mesh or chicken wire, which allows for easy airflow and drainage. The open design of wire mesh bins promotes good aeration, essential for the composting process. One advantage of wire mesh bins is their lightweight and portable nature, making them easy to move or relocate as needed.
Wooden Pallet Bins
Wooden pallet bins are a popular choice for those who prefer a rustic and natural look for their composting area. These bins are constructed using repurposed wooden pallets, making them an eco-friendly option. Wooden pallet bins are relatively easy to assemble and provide good airflow due to the gaps between the pallet slats. They offer a decent capacity and work well for both beginner and experienced composters.
Pile Composting
Pile composting is the simplest and most basic method of composting. It involves creating a compost pile directly on the ground, without the use of any containers or bins. This method requires no construction or setup, making it a perfect choice for those who prefer a hands-on approach. Pile composting allows for natural aeration and drainage but may lack the structure and containment provided by compost bins.
Materials Needed
Wooden Planks or Pallets
For building compost bins such as the wooden pallet bin or stationary bin, you will need wooden planks or pallets. The number and size of the planks or pallets will depend on the desired size of your bin.
Chicken Wire or Wire Mesh
If you are constructing a wire mesh bin, you will need chicken wire or wire mesh. This material allows for good airflow and drainage in the compost.
Nails or Screws
To assemble the compost bin, you will need nails or screws to join the wooden planks or pallets together. Choose nails or screws that are suitable for outdoor use and can withstand the elements.
Hammer or Screwdriver
A hammer or screwdriver is essential for driving in the nails or screws during the construction of the compost bin. Make sure you have the appropriate tool for the type of fasteners you are using.
Shovel or Spade
A shovel or spade will come in handy when turning and mixing the compost. These tools are used to lift and move the compost materials around, ensuring proper aeration and decomposition.
Design Considerations
Size and Capacity
When designing your compost bin, consider the size and capacity that will meet your composting needs. Start by estimating the amount of organic waste you generate and the space available in your yard. A larger bin will allow you to compost more waste but requires more materials and space. On the other hand, a smaller bin may be more manageable for beginners or those with limited space.
Ventilation and Aeration
Proper ventilation and aeration are crucial for a successful composting process. When designing your bin, ensure that it provides adequate airflow to prevent the compost from becoming too compact and smelly. Consider incorporating openings or gaps in the design to promote good air circulation.
Lid or Cover
While not necessary, a lid or cover can be beneficial for several reasons. It helps to retain heat, moisture, and prevent pests from entering the compost bin. If you choose to include a cover, make sure it can be easily removed for adding materials and turning the compost.
Access Point for Turning
To facilitate the turning and mixing of the compost, include an access point in your bin design. This could be in the form of a removable side panel or a hinged door that allows easy access to the compost pile.
Base or Foundation
Having a solid base or foundation for your compost bin is essential for stability and to prevent the bin from sinking into the ground. Consider using concrete blocks, wooden pallets, or other sturdy materials to create a solid base for your compost bin.
Building a Stationary Bin
Marking the Location and Size
Start by marking the desired location and size of your stationary compost bin. Use stakes or paint to outline the area where the bin will be placed. Consider the available space and ensure it meets your composting needs.
Assembling the Frame
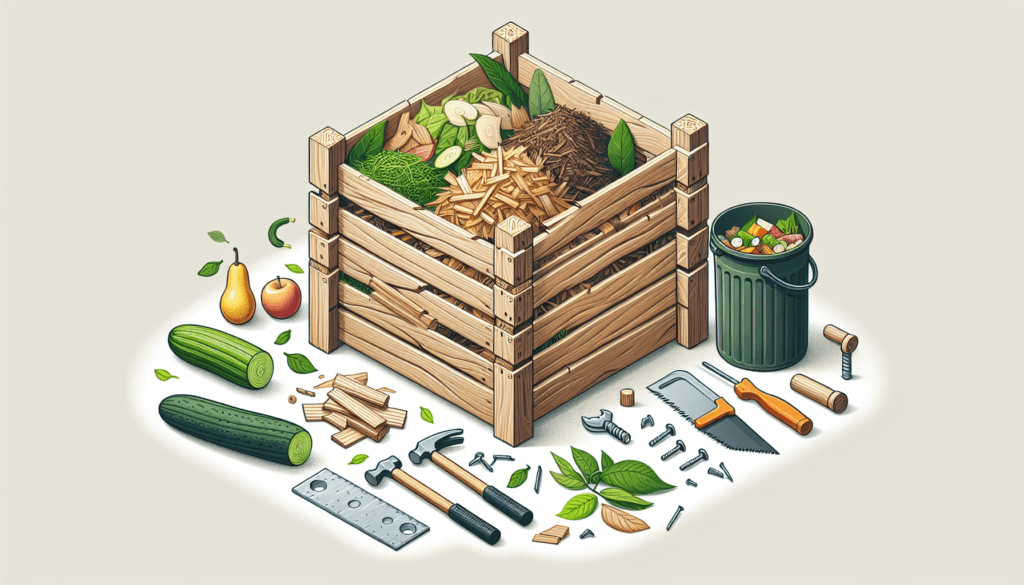
Begin by assembling the frame of your bin using the wooden planks or pallets. Connect the planks or pallets at the corners using nails or screws. Make sure the frame is sturdy and secure.
Attaching the Sides
Next, attach the side panels to the frame using nails or screws. Leave a small gap between each panel to ensure adequate airflow throughout the compost.
Adding Ventilation Openings
To promote airflow and aeration, drill holes or cut openings on the sides of the bin. These openings allow air to circulate freely, helping to speed up the decomposition process.
Securing the Base
Finally, secure the base of the compost bin to ensure its stability. This can be done by attaching the bin to a wooden pallet or using concrete blocks to create a solid foundation.
Building a Tumbler Bin
Selecting a Barrel or Drum
To build a tumbler bin, start by selecting a suitable barrel or drum. A food-grade plastic barrel or metal drum can work well for this purpose. Ensure the barrel is clean and has a secure lid.
Creating Openings for Ventilation
Drill several small holes on all sides of the barrel to allow for sufficient ventilation. These holes will provide the necessary airflow for the composting process.
Building a Support Frame
Construct a support frame for the barrel using wooden planks or metal pipes. The frame should be sturdy enough to hold the barrel securely in place while allowing it to rotate freely.
Attaching the Barrel to the Frame
Using screws or bolts, attach the barrel to the support frame. Make sure the barrel is well-centered and balanced to ensure smooth rotation.
Adding a Turning Mechanism
To create a turning mechanism, attach a handle or rod to one side of the barrel. This will allow you to rotate the barrel easily, aiding in the mixing and aeration of the compost.
Building a Wire Mesh Bin
Measuring and Cutting the Mesh
Measure and cut the wire mesh or chicken wire to the desired size for your bin. Leave enough excess material to overlap and secure the ends.
Creating the Cylinder Shape
Form the wire mesh into a cylinder shape, ensuring that the ends overlap. Use wire or zip ties to secure the mesh together along the overlapped edges.
Attaching the Ends
Using wire or zip ties, attach the ends of the wire mesh cylinder together, creating a closed bin. Make sure the connection is secure to prevent the mesh from coming apart.
Adding Stability and Support
To add stability and support to the wire mesh bin, place wooden or metal stakes around the outside of the cylinder. Push the stakes into the ground around the perimeter of the bin, ensuring they go deep enough to provide stability.
Securing the Base
To prevent the bin from sinking into the ground, secure the bottom edge of the mesh to the ground using stakes or by burying it slightly in the soil. This will help keep the bin steady and prevent it from tipping over.
Building a Wooden Pallet Bin
Collecting and Preparing Pallets
Begin by collecting wooden pallets that are in good condition. Remove any nails or loose pieces of wood from the pallets. Sand down any rough edges or splinters to make them safe to handle.
Constructing the Bin
Using the pallets, arrange them in a rectangular shape to form the walls of the compost bin. Make sure the pallets are securely stacked and aligned.
Adding Reinforcements
To add stability and reinforce the structure, attach additional wooden planks or posts to the corners and sides of the bin. Use nails or screws to secure these reinforcements.
Creating Ventilation Openings
Drill holes or cut openings in the sides of the bin to provide ventilation and airflow. Ensure that the openings are spaced evenly to promote proper aeration.
Stabilizing the Bin
To stabilize the wooden pallet bin, drive stakes or posts into the ground adjacent to the corners of the bin. Attach the stakes or posts to the pallets using nails or screws, ensuring that the bin is securely anchored.
Pile Composting
Choosing an Area for the Pile
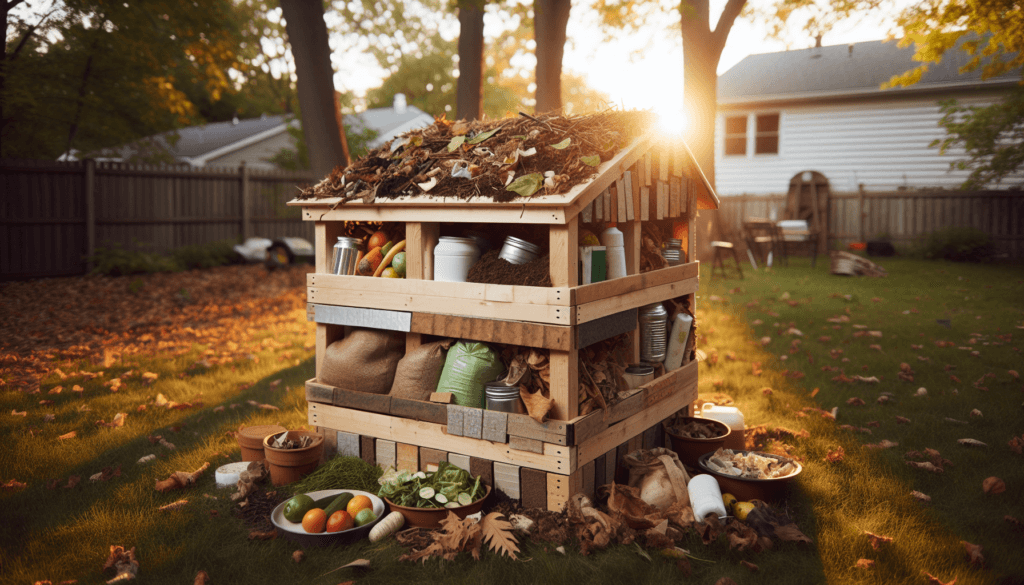
To begin pile composting, choose an open area in your yard or garden. Clear any debris or vegetation from the area. Ensure that the location is easily accessible for turning and monitoring the compost.
Layering Green and Brown Materials
Start by layering green and brown materials in your compost pile. Green materials include fresh kitchen scraps, grass clippings, and other nitrogen-rich materials. Brown materials include dry leaves, straw, and woody prunings. Alternate green and brown layers to create a balanced compost pile.
Turning and Aerating the Pile
Regularly turn and aerate the compost pile to promote decomposition and prevent odors. Use a pitchfork or shovel to mix the materials thoroughly, ensuring that oxygen reaches all parts of the pile.
Monitoring Moisture Levels
Check the moisture levels of the compost pile regularly. The pile should be moist, similar to a damp sponge, but not overly saturated. If the pile becomes too dry, add water to maintain the desired moisture level.
Covering the Pile
Covering the compost pile with a tarp or lid can help retain moisture and heat, while also preventing excessive rain from saturating the pile. However, make sure to leave some openings for air circulation and aeration.
Maintenance and Troubleshooting
Balancing Carbon and Nitrogen
Maintaining a proper balance of carbon (brown materials) and nitrogen (green materials) is crucial for successful composting. Adjust the ratio of green to brown materials as needed to achieve a balanced mix. A ratio of roughly 3 parts brown to 1 part green typically works well.
Turning and Mixing the Compost
Regularly turn and mix the compost to ensure even decomposition and reduce the development of odors. Aim to turn the compost pile every couple of weeks, or more frequently if you notice slow decomposition or a foul smell.
Managing Moisture and Odors
Monitor the moisture levels of your compost regularly. If the pile becomes too wet or smelly, add dry brown materials to absorb excess moisture and improve airflow. If the pile becomes too dry, add water to maintain the desired moisture level.
Dealing with Pests and Rodents
To deter pests and rodents from your compost bin, avoid adding meat, dairy, or oily foods to the pile, as these can attract unwanted visitors. If pests become a persistent issue, consider securing the bin with mesh or adding a layer of wire mesh at the base to prevent animals from burrowing into the compost.
Troubleshooting Common Issues
If you encounter any issues with your compost, such as a foul smell, slow decomposition, or the presence of pests, consult troubleshooting guides or seek advice from experienced composters. There are often simple solutions to common problems that can help you get your compost back on track.
By following these guidelines, you can successfully build and maintain a compost bin that suits your needs. Remember, composting is a rewarding process that benefits both your garden and the environment. Happy composting!

