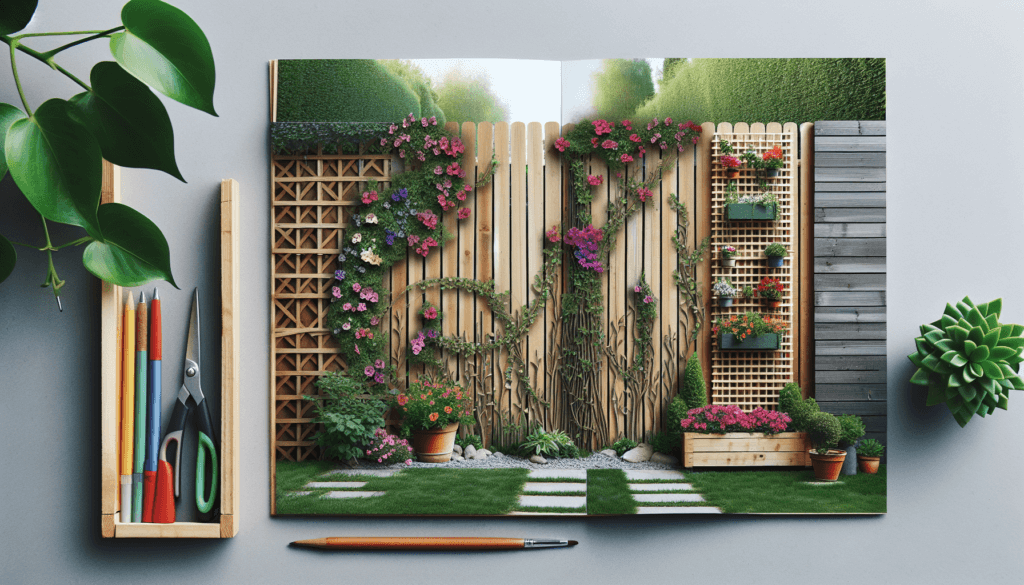
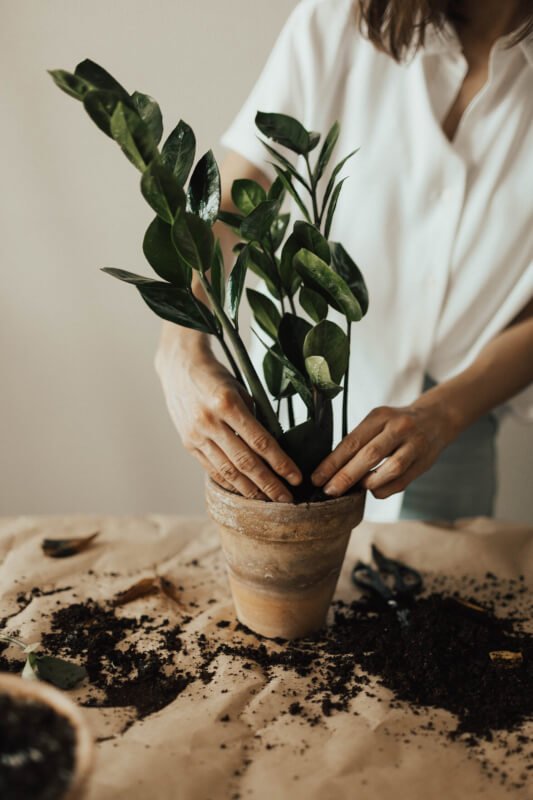
Imagine transforming your garden into a private oasis, shielded from prying eyes and surrounded by tranquility. Whether you live in a bustling city or a suburban neighborhood, adding privacy to your outdoor space can make all the difference. Luckily, there is an array of DIY projects designed specifically for this purpose. From elegant trellises covered in climbing vines to charming bamboo screens, these creative solutions not only provide seclusion but also add a touch of style to your garden. Discover the best DIY projects for adding privacy to your garden and become the envy of your neighbors.
1. Planting Living Privacy Screens
When it comes to adding privacy to your garden, one of the most natural and visually appealing options is planting living privacy screens. These screens not only provide a barrier from prying eyes but also bring beauty and greenery to your outdoor space.
Choosing the Right Plants for Privacy
Before you start planting your living privacy screen, it’s important to select the right plants for the job. Opt for fast-growing plants that can densely cover your desired area. Some popular choices include evergreen trees like Thuja Green Giant, Leyland Cypress, or Arborvitae, which can create a solid wall of foliage. Bamboo is another excellent option as it grows quickly and forms a dense screen. Alternatively, you can choose flowering vines such as Clematis or Trumpet Vine, which add a touch of color to your privacy screen.
Creating a Hedge or Screen with Plants
To create a living privacy screen, you have two main options – creating a hedge or a screen. Hedges are usually made up of a row of tightly spaced shrubs or trees that grow together to form a dense barrier. This option provides a more formal look and requires regular maintenance, including trimming and shaping. Screens, on the other hand, are made up of a series of plants planted in a row, leaving some space between each plant. This creates a less formal appearance, while still providing privacy and a natural aesthetic.
Maintaining and Pruning Living Screens
Once your living privacy screen has been established, proper maintenance is key to ensuring its health and vitality. Regular pruning is necessary to keep your plants in shape and encourage new growth. Trim any dead or diseased branches to maintain the plant’s overall health. It’s also important to monitor the growth of each plant and trim as needed to maintain the desired height and density of your screen. Regular watering, fertilizing, and pest control are also essential to keep your plants thriving.
2. Building a Privacy Fence
Another popular option for adding privacy to your garden is by building a privacy fence. This option offers a more permanent solution, providing a solid barrier from neighbors or passerby. Plus, it gives you the opportunity to create a customized look that matches your outdoor aesthetic.
Preparing the Site for the Fence
Before you can start building your privacy fence, you need to prepare the site properly. Clear any vegetation or debris from the area where the fence will be installed. Measure and mark the boundary lines, ensuring accuracy and consistency. Additionally, it’s important to check with local ordinances or homeowners’ association rules to ensure compliance with any height or material restrictions in your area.
Selecting the Right Materials for Your Fence
Choosing the right materials for your privacy fence is crucial for both aesthetics and functionality. Some popular options include wood, vinyl, and metal. Wood fences offer a timeless and natural look, and you can choose from various types of wood, depending on your desired level of maintenance and durability. Vinyl fences are low-maintenance and come in a range of colors and styles. Metal fences, such as aluminum or wrought iron, provide durability and security while adding a touch of elegance to your outdoor space.
Building and Installing the Fence
Once you have selected your materials, it’s time to start building and installing your privacy fence. Begin by setting the corner posts, ensuring they are plumb and secure. Then, install the intermediate posts, evenly spacing them along the boundary line. After the posts are secure, attach the rails horizontally to create the framework for the fence. Finally, attach the fence boards or panels, ensuring they are level and secure. Take your time during the installation process to ensure a sturdy and visually pleasing fence.
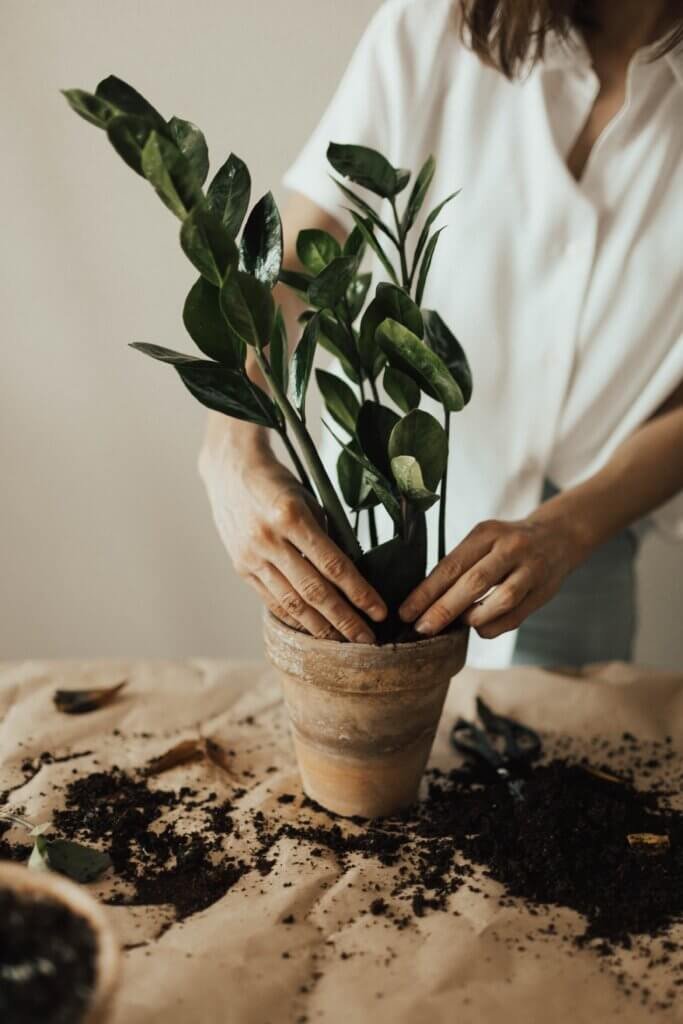
3. Installing Outdoor Curtains
If you prefer a more versatile privacy solution, installing outdoor curtains can be an excellent choice. Not only do they provide privacy, but they also add a touch of elegance and create a cozy atmosphere in your garden.
Choosing the Right Outdoor Curtains
When selecting outdoor curtains, it’s essential to choose materials that are durable and weather-resistant. Look for curtains made of fabrics such as polyester or acrylic, as they are designed to withstand outdoor conditions. Additionally, consider the color and pattern of the curtains, ensuring they complement your outdoor space and personal style.
Installing the Curtain Rods or Tracks
To install outdoor curtains, you’ll need curtain rods or tracks specifically designed for outdoor use. These hardware options are typically made of weather-resistant materials such as aluminum or stainless steel. Install the curtain rods or tracks securely using appropriate screws and anchors for your outdoor wall or structure. Ensure that the rods or tracks are level and provide enough clearance for the curtains to hang freely.
Maintaining and Cleaning Outdoor Curtains
To keep your outdoor curtains looking their best, regular maintenance and cleaning are necessary. Brush off any dirt or debris from the curtains regularly using a soft-bristle brush. If the curtains become soiled, follow the manufacturer’s instructions for cleaning. Most outdoor curtains can be machine-washed or hand-washed using a mild detergent. Allow them to air dry thoroughly before rehanging.
4. Constructing a Pergola or Arbor
Adding a pergola or arbor to your garden not only enhances privacy but also creates an inviting and stylish outdoor living space. These structures can serve as a focal point, provide shade, and offer a sense of privacy in your garden.
Determining the Best Location for a Pergola or Arbor
Before constructing a pergola or arbor, carefully consider the best location within your garden. Look for an area that provides the desired amount of shade and privacy while complementing the overall layout of your outdoor space. Ideally, it should be a spot that you frequent often, such as a patio or deck, to maximize its functionality and appeal.
Choosing the Right Materials for Construction
When it comes to materials for a pergola or arbor, the options are plentiful. Wood, such as cedar or redwood, offers a natural and warm aesthetic and can be stained or painted to match your style. Alternatively, metal, such as aluminum or wrought iron, provides a more contemporary and durable option. Consider your desired maintenance level, budget, and overall design preferences when selecting the appropriate materials.
Adding Decorative Privacy Features to Pergolas and Arbors
To enhance the privacy aspect of your pergola or arbor, consider incorporating decorative privacy features. These can include lattice panels, curtains, or climbing plants such as ivy or jasmine. Lattice panels not only add privacy but also create an attractive backdrop for your outdoor space. Outdoor curtains can be hung from the sides of the structure, offering additional privacy and shade. Climbing plants can be trained to grow along the structure, creating a natural and lush privacy screen.
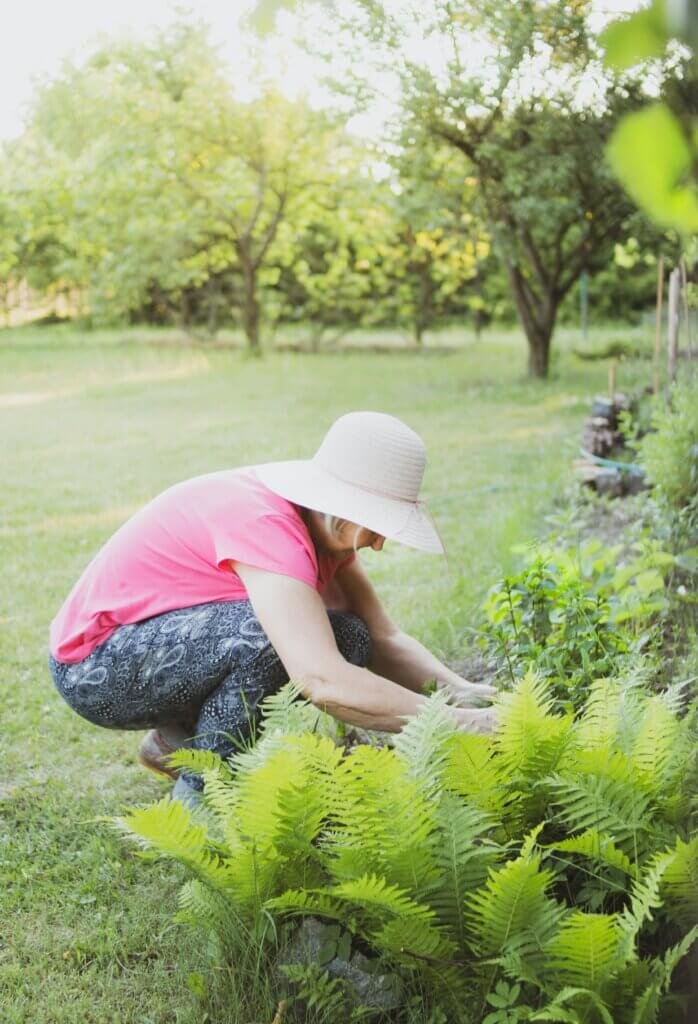
5. Creating a Vertical Garden
Vertical gardens are a fantastic way to add privacy while maximizing limited space. These gardens, also known as green walls, not only provide an element of seclusion but also add a beautiful and unique visual element to your garden.
Selecting the Right Plants for a Vertical Garden
Choosing the right plants for your vertical garden is crucial for its success. Opt for plants that thrive in vertical environments and can withstand varying light conditions. Consider succulents, which are low-maintenance and drought-tolerant, or foliage plants with trailing vines, such as pothos or English ivy. Additionally, select plants that have similar water and light requirements to ensure they flourish together.
Building or Purchasing a Vertical Garden Structure
To create a vertical garden, you can either build your own structure or purchase a pre-made one. If you choose to build your own, consider using materials such as wood, metal, or even recycled materials like pallets. Ensure that the structure is sturdy and securely attached to a wall or freestanding. If you prefer a pre-made option, there are various vertical garden systems available on the market that offer ease of installation and maintenance.
Maintaining and Watering Vertical Gardens
Proper maintenance and watering are essential to keep your vertical garden thriving. Regularly inspect the plants for signs of pests or diseases and take appropriate action if needed. Watering requirements will depend on the specific plants in your vertical garden and their individual needs. Some plants may require daily watering, while others may only need to be watered once or twice a week. Consider installing a drip irrigation system or self-watering pots to simplify the watering process.
6. Installing Bamboo Screens
For a tropical and exotic touch, installing bamboo screens is an excellent option to add privacy to your garden. Bamboo screens are not only visually appealing but also provide a natural and sustainable alternative to traditional privacy screens.
Choosing the Right Type of Bamboo Screen
When selecting bamboo screens, there are different types to consider. Rolled bamboo screens are made of bamboo poles tightly bound together, offering a solid and dense barrier. Split bamboo screens are made of thin strips of bamboo, providing a more open and decorative privacy option. Consider your desired level of privacy and design preferences when selecting the type of bamboo screen.
Installing Bamboo Screens for Privacy
Installing bamboo screens is relatively straightforward. Begin by measuring the area where you want to install the screens and mark the height and width. Use appropriate screws or zip ties to attach the bamboo screen to an existing fence or structure. Ensure that the screens are securely fastened to withstand wind or other weather conditions. For added stability, consider placing wooden stakes in the ground and attaching the bamboo screen to them.
Maintaining and Controlling Bamboo Growth
Bamboo is a fast-growing plant, so proper maintenance and control are necessary to prevent it from becoming invasive. Regularly check for any signs of new growth that may require trimming or containment. Trim excess or unwanted bamboo shoots to maintain the desired height and density of the screen. To prevent aggressive spreading, consider installing a root barrier around the base of the bamboo plants. Regular watering and fertilizing will also help keep your bamboo screens healthy and vibrant.

7. Hanging Outdoor Privacy Art
Adding outdoor privacy art to your garden can not only provide privacy but also serve as a stunning focal point and an expression of your personal style. Choose art pieces that are specifically designed for outdoor use to ensure durability and weather resistance.
Selecting Art Pieces Suitable for Outdoor Use
When selecting outdoor privacy art, look for pieces made of weather-resistant materials such as metal, ceramic, or outdoor-safe canvas. Avoid using delicate or fragile materials that may be easily damaged by the elements. Consider your personal style and the overall theme of your garden when choosing art pieces, whether it’s abstract sculptures, colorful wind chimes, or mosaic wall hangings.
Hanging and Securing Outdoor Art
Proper installation and securing methods are crucial when hanging outdoor art to ensure safety and longevity. Choose appropriate mounting hardware specifically designed for outdoor use, such as stainless steel hooks or brackets. Determine the best placement for the art pieces, considering factors such as visibility, protection from direct sunlight, and wind exposure. Use a level to ensure that the art is hung straight and securely.
Protecting Artwork from Weather Damage
To protect your outdoor art from weather damage, consider applying a weatherproof sealant or protective coating. This can help preserve the colors and materials, preventing fading or deterioration over time. Additionally, regularly clean the art pieces using a gentle cleanser and a soft cloth to remove any dirt or debris. Cover or bring delicate pieces indoors during severe weather conditions or the winter season to ensure their longevity.
8. Creating a Living Moss Wall
For a unique and eye-catching privacy solution, creating a living moss wall can be an excellent choice. These walls not only provide privacy but also add a natural, textured, and serene ambiance to your garden.
Selecting the Right Area for a Living Moss Wall
Before creating a living moss wall, carefully consider the best location within your garden. Moss thrives in shaded, moist areas, so choose a spot with limited direct sunlight. Additionally, moss walls are best suited for walls that are porous, such as concrete, brick, or wood, to allow the moss to attach and grow.
Prepping the Wall and Applying Moss
To create a living moss wall, you’ll need to prepare the wall and apply the moss properly. Start by thoroughly cleaning the wall to remove any dirt, debris, or existing plant growth. Once the wall is clean, moisten the surface lightly and consider spraying a moss-friendly substrate or moss slurry to help establish the moss. Gently press the moss onto the wall, making sure it adheres well. Mist the moss regularly to maintain moisture levels and encourage growth.
Caring for and Maintaining the Moss Wall
To keep your living moss wall healthy and flourishing, it requires regular care and maintenance. Ensure that the moss wall receives adequate moisture by misting it regularly, especially during dry spells. Avoid excessive watering, as this can lead to rot or mold growth. Monitor the wall for any signs of weeds or other plants that may compete with the moss and remove them promptly. If necessary, lightly prune or trim any overgrown or discolored areas to maintain the wall’s appearance.
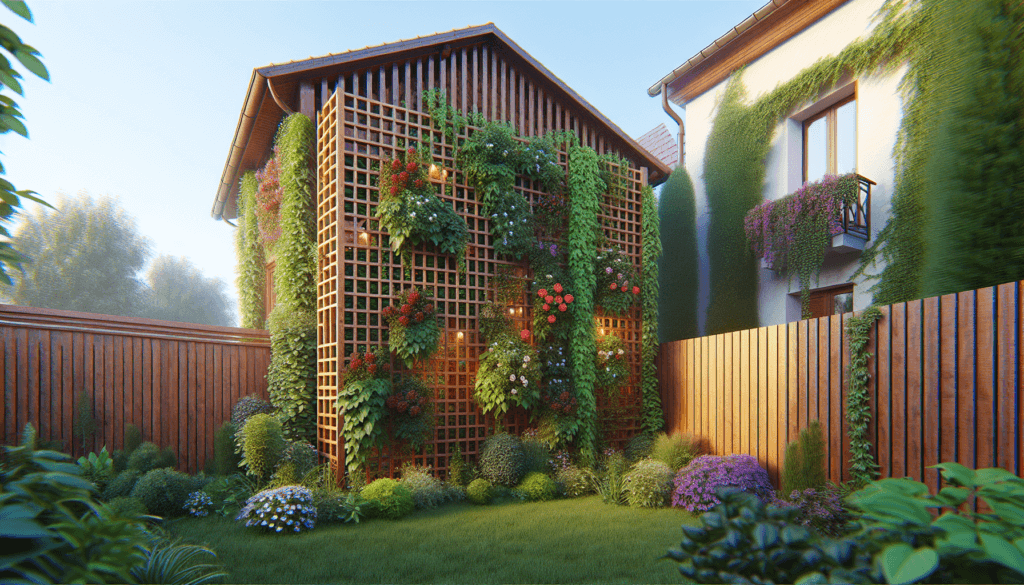
9. Building a Trellis for Climbing Plants
If you’re looking to achieve privacy with a touch of natural beauty, building a trellis for climbing plants can be the perfect solution. Not only do trellises add privacy, but they also create an enchanting vertical garden that brings life and color to your outdoor space.
Choosing the Right Design for a Climbing Plant Trellis
When selecting a design for your climbing plant trellis, consider the size and scale of your garden, as well as the types of climbing plants you intend to grow. Choose a trellis design that complements the style of your outdoor space, such as traditional lattice, modern geometric patterns, or rustic wooden frames. Ensure that the trellis is sturdy and properly anchored to support the weight of the climbing plants.
Constructing and Installing the Trellis
Constructing a trellis for climbing plants can be a fun and rewarding DIY project. Start by gathering the necessary materials, such as wood or metal poles, wire mesh, or lattice panels. Carefully assemble the trellis structure, ensuring that all joints are secure and stable. Once the trellis is constructed, install it in the desired location, ensuring that it is firmly anchored to the ground or a wall. Take care to position the trellis where it will receive adequate sunlight and create the desired privacy.
Training Climbing Plants on the Trellis
After the trellis is installed, it’s time to train your climbing plants to grow along the structure. Begin by gently guiding the plant’s vines or tendrils onto the trellis, ensuring they have proper support and attachment points. As the plants grow, continue guiding and securing the vines to the trellis with soft ties or plant clips. Regularly monitor the growth of the plants and trim any excess or damaged branches to maintain the desired shape and density of the privacy screen.
10. Installing Privacy Panels or Lattices
Privacy panels or lattices offer a versatile and customizable option for adding privacy to your garden. These decorative screens can be used as standalone features or incorporated into existing structures, such as fences or pergolas.
Choosing the Right Materials for Privacy Panels/Lattices
When selecting materials for your privacy panels or lattices, consider both aesthetics and functionality. Wood panels offer a traditional look and can be stained or painted to match your outdoor space. Vinyl panels are low-maintenance and come in a variety of colors and styles. Metal panels, such as aluminum or wrought iron, provide durability and can be customized with intricate designs. Choose materials that complement your outdoor style while considering the level of maintenance and desired privacy level.
Installing Privacy Panels/Lattices for Your Garden
Installing privacy panels or lattices requires careful measurement and proper installation techniques. Begin by measuring the area where the panels will be installed, ensuring accuracy and consistency. Securely attach the panels to existing structures or posts using appropriate screws or brackets. Ensure that the panels are level and plumb, and provide adequate clearance from the ground or other surfaces. Take your time during the installation process to ensure a professional and secure result.
Decorating and Personalizing Privacy Panels
Once your privacy panels or lattices are in place, it’s time to add your personal touch and enhance their visual appeal. Consider incorporating climbing plants, such as jasmine or clematis, to grow along the panels, providing additional privacy and a natural green backdrop. Hang decorative outdoor art pieces or ornaments on the panels to add visual interest and create a personalized look. Additionally, you can paint or stain the panels to match your outdoor decor and bring more color to your garden.
In conclusion, adding privacy to your garden can be accomplished through various creative and DIY projects. Whether you choose to plant living privacy screens, build a privacy fence, install outdoor curtains, construct a pergola or arbor, create a vertical garden, install bamboo screens, hang outdoor privacy art, build a living moss wall, construct a trellis for climbing plants, or install privacy panels or lattices, each option offers its own unique benefits and visual appeal. With a little planning, creativity, and hands-on effort, you can transform your outdoor space into a private sanctuary that reflects your personal style and enhances your enjoyment of your garden.
