Imagine transforming your outdoor space into a lush and vibrant oasis filled with blooming flowers and fresh herbs, all contained within beautiful wooden planter boxes that you built yourself. This DIY guide will take you through the step-by-step process of creating your very own wooden planter box, providing all the tips and tricks you need to make it a successful and rewarding project. From selecting the right materials to assembling and finishing your box, this guide will empower you to showcase your creativity while adding a touch of natural beauty to your garden. So grab your tools, roll up your sleeves, and get ready to embark on a fulfilling DIY adventure!

Choose the Right Wood
When starting your DIY project of building a wooden planter box, one of the first things to consider is the type of wood to use. There are several options to choose from, each with its own characteristics and benefits.
Cedar is a popular choice due to its durability and natural resistance to rot and insects. It has a beautiful reddish-brown color and can add a touch of elegance to your garden. Redwood is another excellent option as it is naturally resistant to decay and has a rich, deep red color. Pine is a more economical choice and is readily available, but it may not be as long-lasting as cedar or redwood. Pressure-treated wood is treated with chemicals to resist decay and insects, making it a practical choice for outdoor projects. Lastly, if you’re looking for a sustainable option, consider using recycled pallets. They can be transformed into unique and rustic planter boxes while reducing waste.
Determine the Size
Before you start cutting the wood, it’s important to determine the size of your planter box. Consider the available space in your garden or patio and the plants you wish to grow. The length of the box will depend on the area you have designated for it. The width should provide enough space for your plants to grow comfortably. The height is a personal preference but keep in mind that taller boxes may require additional support. Factors to consider include the types of plants you plan to grow, the depth of soil they require, and the overall aesthetic you want to achieve.

Cut the Wood
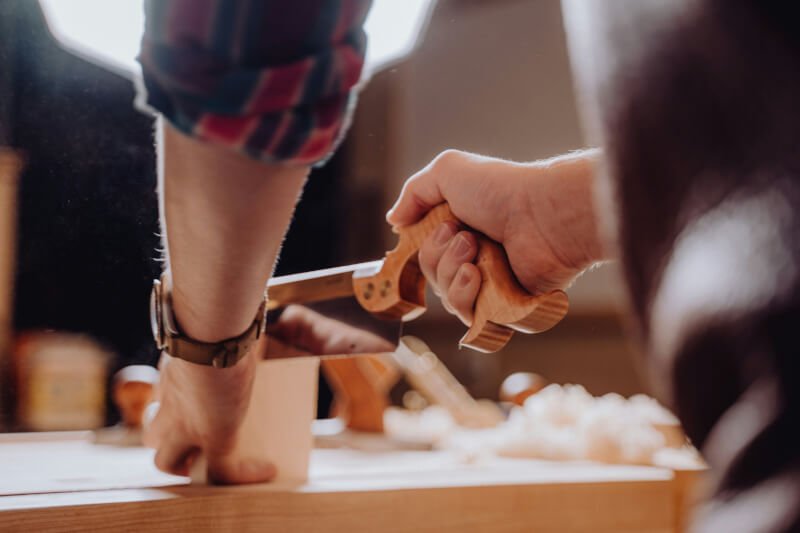
Once you have determined the dimensions of your planter box, it’s time to cut the wood. Start by measuring and marking the desired lengths and widths on your chosen wood. Always measure twice and cut once to ensure accurate dimensions. Use a saw appropriate for the thickness of the wood you are cutting. Safety precautions are crucial when working with power tools, so be sure to wear protective eyewear and follow the manufacturer’s instructions for your saw.
Assemble the Box
Now that you have your cut wooden pieces, it’s time to assemble the planter box. Start by drilling pilot holes to prevent the wood from splitting when you attach the pieces together. Next, attach the sides to the base using screws. Apply wood glue to ensure a strong bond and use clamps to hold the pieces together while the glue dries. Once the glue is dry, securely screw the pieces together to reinforce the joints.

Add Drainage Holes
Proper drainage is essential for maintaining healthy plants in your planter box. Determine the size and spacing of the drainage holes based on the type of plants you intend to grow and the soil you will be using. Use a drill with an appropriate bit size to create the holes in the base of the box. Good drainage allows excess water to escape, preventing waterlogging and root rot.
Sand and Finish
To achieve a polished and professional look, it’s important to sand your planter box. Start by smoothing any rough edges with sandpaper. Then, sand the entire surface of the box to remove any imperfections or splinters. This step will not only enhance the aesthetic appeal but also help protect the wood from weathering.
You have the option to leave the planter box in its natural state or apply a finish. Applying paint or stain can not only add color to your box but also provide additional protection against the elements. Choose a finish that is suitable for outdoor use, and remember to follow the manufacturer’s instructions.

Optional Additions
Now that you have built the basic structure of your wooden planter box, you can customize it with optional additions. Consider adding a trellis or lattice on one side of the box to support climbing plants. This can add vertical interest to your garden and maximize space. Handles can be attached to the sides to make it easier to move the planter box when needed. If you plan to grow different types of plants, installing a divider can help separate them and provide individual growing spaces. Adding wheels or casters to the bottom of the box can make it more mobile and allow for easy repositioning. Lastly, creating herb or flower markers can add a personal touch and help identify your plants.
Tips and Tricks
Here are some tips and tricks that can make your DIY planter box project a success. When attaching pieces together, pre-drilling holes can prevent the wood from splitting. Using a square tool can ensure that your planter box is properly aligned and square. When applying a finish, consider applying multiple coats for better durability. Keep in mind the weight of the planter box when moving it around your garden or patio, and consider using a dolly or enlisting some help for larger and heavier boxes. Finally, to maintain the longevity of your wooden planter box, regularly check for any water damage, repair any loose screws or joints, and reapply finish as needed.

Conclusion
Building a wooden planter box is a rewarding and enjoyable DIY project that can enhance the beauty of your garden or outdoor space. By choosing the right wood, determining the appropriate size, cutting with precision, and assembling the pieces systematically, you can create a sturdy and functional planter box. Adding drainage holes, sanding, and applying a finish will ensure the longevity and aesthetics of your creation. Optional additions can make your planter box even more versatile and customizable. With the right tips and tricks, your planter box will be a successful addition to your gardening endeavors. So grab your materials and get started on your own wooden planter box today!
