Imagine transforming your garden into a picturesque oasis with beautiful, custom-made pavers that add a touch of personality to your outdoor space. In this article, we will guide you through the simple yet gratifying process of creating your very own garden pavers. With just a few materials and a couple of hours, you can unleash your creativity and design stunning pathways, patios, and seating areas that will leave your friends and family in awe. Get ready to roll up your sleeves and embark on a fun-filled DIY adventure as you learn how to make your own garden pavers.
Choosing the Right Materials
Consider the Purpose of Your Pavers
When it comes to choosing the right materials for your garden pavers, it’s important to consider their purpose. Are you looking to create a simple pathway through your garden, or do you want to create a patio area for outdoor entertaining? The purpose of your pavers will help determine the materials you should use. For a pathway, you may opt for more affordable options like concrete or gravel, while for a patio, you might prefer the elegance of natural stone or brick.
Select a Suitable Material
Once you have determined the purpose of your pavers, it’s time to select a suitable material. There is a wide range of materials available, each with its own unique characteristics. Concrete offers durability and versatility, allowing you to create various shapes and sizes. Natural stone adds a touch of elegance and a timeless look to your garden. Brick pavers provide a classic and rustic feel. Consider the style and aesthetic you want to achieve before making your final decision.
Determine the Size and Shape of Your Pavers
The size and shape of your pavers can greatly impact the overall look and functionality of your garden. Larger pavers can create a sense of space and openness, while smaller ones are ideal for intricate designs or pathways with corners. Rectangular or square-shaped pavers offer a more traditional look, while irregular shapes can add a unique and artistic touch. Take into account the area where you plan to install the pavers and consider how the size and shape will complement the surrounding landscape.
Preparing the Area
Clear the Ground
Before you can start laying your garden pavers, it’s essential to clear the ground of any vegetation or debris. Remove any plants, rocks, or other obstacles that may be in the way. This step ensures a smooth and stable foundation for your pavers.
Level the Ground
Once the ground is clear, it’s crucial to level it to ensure your pavers sit evenly. You can use a rake or shovel to level the surface, removing any bumps or uneven areas. This step is important as it helps prevent your pavers from shifting or sinking over time.
Create a Border
To give your garden pavers a clean and finished look, it’s a good idea to create a border. This can be done using landscape edging, bricks, or any other materials that complement your pavers. The border not only adds aesthetic appeal but also helps keep the pavers in place and prevents them from spreading.

Mixing the Concrete
Gather the Necessary Materials
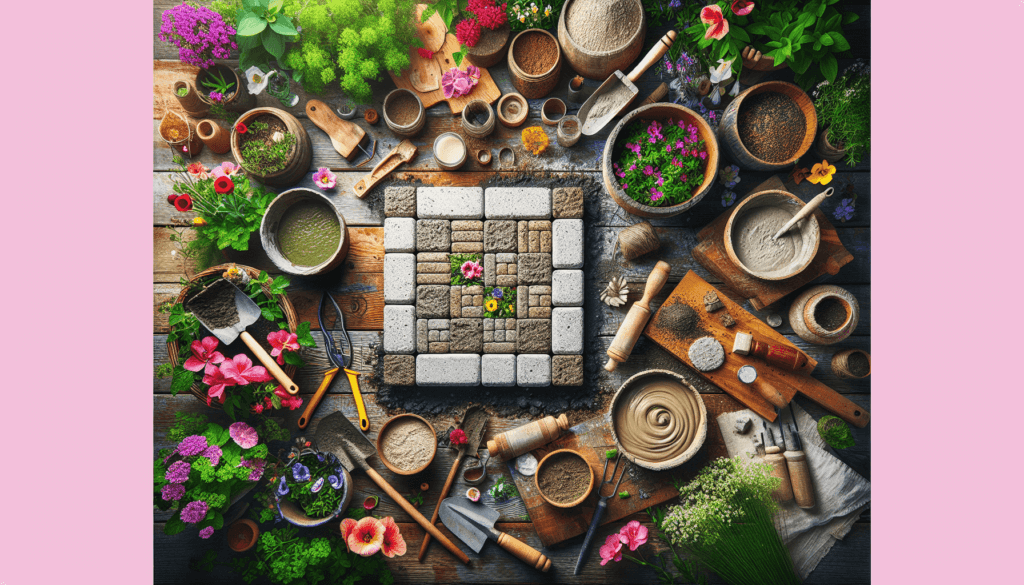
If you decide to use concrete as your paver material, you will need to gather the necessary materials for mixing. This typically includes cement, sand, gravel, and water. Ensure you have the correct proportions for the mixture, as it will affect the strength and durability of your pavers.
Measure and Mix the Concrete
Next, it’s time to measure and mix the concrete. Follow the instructions provided with your chosen concrete mix, or consult a professional if you’re unsure. Use a wheelbarrow or large mixing container to combine the cement, sand, and gravel, gradually adding water until you achieve a workable consistency. Mix thoroughly to ensure all the components are evenly distributed.
Pouring the Concrete
Prepare the Area
Before pouring the concrete, it’s important to prepare the area where the pavers will be placed. Make sure the ground is level and the border is in place. Additionally, you may want to consider using a release agent or lubricant on the surface of the pavers to prevent them from sticking to the concrete.
Pour the Concrete
With the area prepared, it’s time to pour the concrete into the designated spaces for your pavers. Work in sections, starting from one corner and gradually moving towards the opposite end. Use a shovel or rake to spread the concrete evenly, ensuring it reaches all the edges.
Smooth the Surface
After pouring the concrete, it’s crucial to smooth the surface to create a flat and even finish. You can use a screed board or a straight piece of wood to level the concrete. Move it back and forth, using a sawing motion, to remove any excess concrete and create a smooth surface for your pavers.

Adding Texture or Design
Use a Stamping Tool
To add texture and visual interest to your garden pavers, consider using a stamping tool. These tools create imprints on the concrete, mimicking the look of natural stone or brick. You can choose from a variety of stamping patterns and styles to achieve the desired effect. Follow the manufacturer’s instructions for proper use and ensure the concrete is still wet enough for the imprints to hold.
Create a Mosaic Pattern
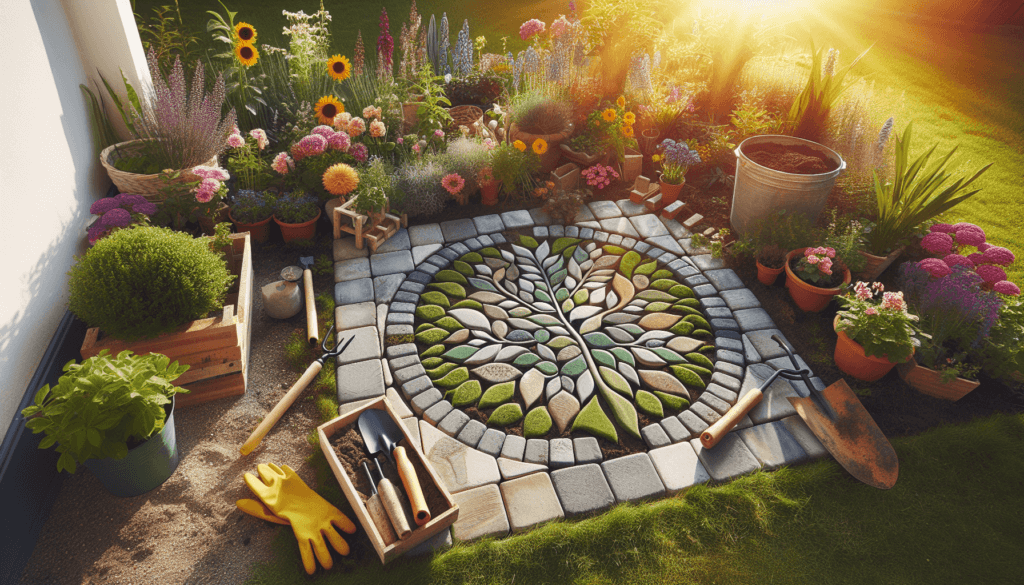
For a unique and artistic touch, you can create a mosaic pattern on your garden pavers. This involves embedding small pieces of colored glass, ceramic, or stone into the wet concrete to form a decorative design. Plan out your pattern beforehand and place the pieces carefully to achieve the desired look. Once the concrete has cured, you will have a beautiful mosaic design that adds a personalized touch to your garden.
Apply a Stencil Design
Another way to enhance the aesthetic appeal of your garden pavers is by applying a stencil design. This allows you to incorporate intricate patterns or even custom logos into your pavers. Place the stencil on the wet concrete and use a trowel or sponge to apply a contrasting color over the stencil. Once the concrete has cured, carefully remove the stencil to reveal the design.
Allowing the Concrete to Cure
Cover the Pavers
To ensure proper curing, it’s essential to cover the concrete pavers to protect them from the elements. Use plastic sheets or tarps to cover the area and prevent moisture loss. This helps maintain the optimal conditions for curing and ensures the strength and durability of your pavers.
Let the Concrete Cure
Concrete typically takes several days to cure properly, so be patient and allow sufficient time for the curing process. Follow the instructions provided with your concrete mix for the recommended curing time. Avoid walking on the newly poured pavers until they are fully cured to prevent any damage or cracking.

Removing the Pavers
Remove the Border
Before you can remove the pavers from their molds, it’s important to remove the border first. Carefully take out the landscape edging or any other materials used, ensuring not to disturb the freshly cured pavers. This step allows you to have easy access to lift and remove the pavers.
Gently Lift and Remove the Pavers
Once the border is removed, it’s time to gently lift and remove the pavers from their molds. Avoid using excessive force or prying as it may cause damage to the pavers or the surrounding concrete. Lift each paver individually, taking care not to chip or crack them. Place them aside in a safe area until you are ready to install them.
Installing the Pavers
Prepare the Ground
Before installing the pavers, prepare the ground by ensuring it is level and free from any debris. If necessary, apply a thin layer of sand or crushed rock to create a stable base. This helps prevent the pavers from sinking or shifting over time.
Arrange the Pavers
Once the ground is prepared, it’s time to arrange the pavers in the desired pattern. Start from one corner and work your way across, ensuring each paver is snugly fitted next to the others. Use a rubber mallet or a block of wood to gently tap the pavers into place, ensuring they are level and aligned.
Fill the Gaps
After installing the pavers, fill the gaps between them with sand or fine gravel. This helps stabilize the pavers and prevent weed growth. Use a broom or brush to sweep the sand into the gaps, ensuring it settles evenly. Once the gaps are filled, you can lightly spray the area with water to help the sand settle further.

Sealing the Pavers
Clean the Pavers
To maintain the beauty and longevity of your garden pavers, it’s important to clean them regularly. Use a mild detergent diluted in water and a stiff brush to scrub away any dirt, stains, or moss that may have accumulated over time. Rinse the pavers with clean water and allow them to dry completely before applying a sealer.
Apply the Sealer
Applying a sealer to your garden pavers can enhance their appearance and provide added protection against stains and moisture. Choose a sealer suitable for the material of your pavers and follow the manufacturer’s instructions for proper application. Use a roller or sprayer to apply an even coat of sealer, ensuring full coverage. Allow the sealer to dry completely before using the paved area.
Maintaining Your Garden Pavers
Regular Cleaning
To keep your garden pavers looking their best, it’s important to incorporate regular cleaning into your maintenance routine. Sweep away debris and leaves regularly, and clean any stains or spills as soon as possible. Consider pressure washing once or twice a year to remove stubborn dirt and grime.
Weed Control
Preventing weed growth between your pavers is crucial to maintain their integrity and aesthetics. Use a weed killer or apply a weed barrier under the pavers during the installation process. Additionally, inspect the gaps periodically and remove any weeds that may have sprouted. This will help keep your garden pavers weed-free and in top condition.
Repairing Damages
Over time, your garden pavers may require some repairs. If you notice any cracks or chipped edges, it’s important to address them promptly. Remove the damaged paver carefully and replace it with a new one. If the surrounding pavers are affected, you may need to lift and readjust them. Regular inspections and timely repairs will extend the lifespan of your garden pavers.
By following these steps, you can create your own garden pavers that not only enhance the beauty of your outdoor space but also provide functional walkways and gathering areas. With careful planning and proper maintenance, your garden pavers will continue to be a source of pride and enjoyment for years to come.


